
Why Does Soldering Flux Bubble or Spatter? 8 Causes and Fixes
Learn why flux bubbles, pops or sprays during PCB soldering, how to distinguish normal activation from excessive spattering, and how to correct the process safely.
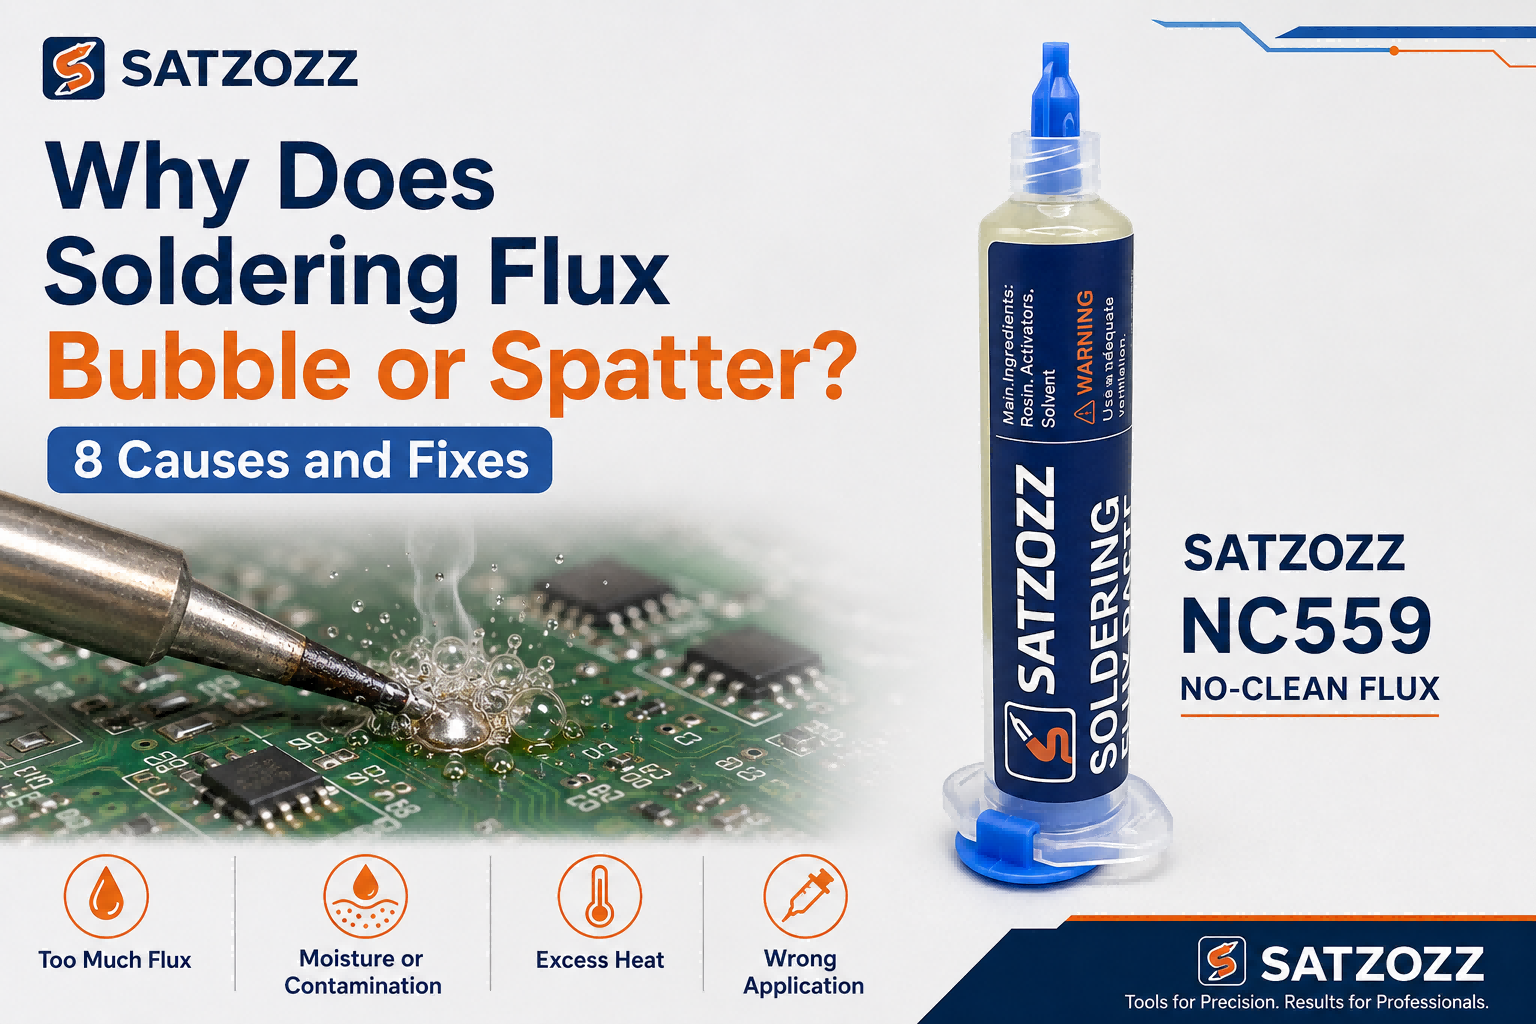
Quick answer: Small bubbles can be a normal result of solvents and volatile ingredients escaping as flux heats. Excessive popping or spattering is commonly associated with too much flux, rapid heating, excessive temperature, moisture, contamination, trapped flux or an unsuitable application method. Use a thin, localized coating and heat the joint progressively rather than shocking a large pool of flux.
Soldering flux contains ingredients that activate when heated. As temperature rises, volatile components evaporate and activators react with oxidation on PCB pads and component leads.
A small amount of bubbling around a solder joint is not automatically a defect. The process becomes problematic when flux repeatedly pops, sprays droplets across the PCB, carries solder particles into nearby areas or leaves dark, burnt residue.
Excessive spattering can make the repair area harder to inspect, contaminate nearby components and increase post-repair cleaning. It can also expose the technician to hot droplets.
Usually Normal
- Small bubbles close to the heated joint
- Brief bubbling as the solder begins to flow
- No droplets projected across the PCB
- Light, localized residue
Check the Process
- Repeated popping during the full repair
- Flux moves far beyond the target area
- Large sticky residue remains
- The joint requires prolonged heating
Stop and Inspect
- Hot droplets strike nearby components
- Solder balls appear around the board
- Flux becomes black or carbonized
- The solder mask begins discoloring
What Is Flux Spattering?
Flux spattering is the rapid release of small droplets or particles when heated flux gases escape suddenly from the soldering area.
Depending on the repair process, the ejected material may include:
- Liquid or partially activated flux
- Flux residue particles
- Small solder droplets
- Oxide or contamination from the joint
Spattering is more likely when gases are generated faster than they can escape smoothly from the flux or solder joint.
1. Normal Solvent Evaporation
Volatile Ingredients Escape During Heating
Many flux formulations contain solvents or volatile components that become gas as the soldering area heats.
Small bubbles can appear while these ingredients escape and the active flux begins cleaning the metal surfaces.
2. Too Much Flux Was Applied
A Large Flux Volume Traps More Volatile Material
A thick bead or pool contains more liquid and takes longer to heat evenly. The upper surface may become hot while material underneath remains cooler.
As trapped solvent suddenly reaches its boiling range, the flux may pop or spray.
Read: How Much Soldering Flux Should You Use?
3. The Flux Is Heated Too Quickly
Rapid Temperature Rise Causes Sudden Outgassing
Placing a very hot soldering tip directly into a thick pool of cold flux can cause the volatile ingredients to expand rapidly.
A similar effect can occur when high hot-air flow is applied immediately without allowing the repair area to warm gradually.
4. The Soldering Temperature Is Too High
Excessive Heat Accelerates Boiling and Charring
High tip or hot-air temperature can cause flux ingredients to evaporate too rapidly.
Prolonged excessive heat can also darken or carbonize residue, reducing flux activity and making cleanup more difficult.
5. Moisture Is Present
Water Expands Rapidly When Heated
Moisture may be present in contaminated flux, on the PCB surface, beneath a component or inside porous contamination.
When water becomes steam, it expands rapidly and can force flux or solder away from the joint.
6. Flux Is Trapped Beneath a Component
Gas Cannot Escape Smoothly
Flux beneath QFN, BGA, shielded or closely spaced components may be enclosed by the package and surrounding solder.
As the area heats, escaping gas can push flux outward from the component edges.
7. The Flux Type Does Not Match the Repair Method
Viscosity and Volatility Affect Heating Behavior
Thin liquid flux can spread quickly and may evaporate rapidly under hot air. Thick tacky flux remains localized but can spatter when applied in an excessively large quantity.
A flux designed for one process may not provide ideal behavior in another process.
Read: Tacky Flux vs Liquid Flux
8. Poor Heat Transfer Extends the Heating Cycle
A Dirty or Incorrect Tip Keeps Cooking the Flux
A dirty, oxidized or undersized soldering tip transfers heat inefficiently. The flux may boil and darken while the solder joint remains below the correct working condition.
Repeated heating cycles can then produce additional bubbling, residue and contamination.
Flux Bubbling and Spattering Troubleshooting Table
| Observed Behavior | Likely Cause | Recommended Response |
|---|---|---|
| Small, brief bubbles | Normal solvent evaporation and activation | Monitor solder wetting and continue with controlled heat |
| Large bubbles in a flux pool | Too much flux | Reduce the amount and keep application localized |
| Immediate popping when heat is applied | Heating too quickly | Use a more controlled temperature rise |
| Flux sprays across the PCB | Rapid outgassing, excess flux or moisture | Stop, allow cooling and inspect the materials and process |
| Dark or black residue | Excessive temperature or prolonged heating | Correct tip contact, temperature and heating time |
| Flux emerges from under a package | Excess flux trapped beneath the component | Use a thinner layer and a controlled reflow process |
| Solder balls appear nearby | Solder spatter or contaminated joint | Stop and remove loose particles before powering the board |
| Long bubbling with poor solder flow | Poor heat transfer or dirty soldering tip | Clean and tin the tip and improve thermal contact |
Does Tacky Flux Spatter More Than Liquid Flux?
Neither flux type automatically produces more spatter in every application. Behavior depends on formulation, quantity and heating method.
Tacky Flux
- Stays close to the repair area
- Works well during hot-air rework
- Can trap volatiles when applied too thickly
- May leave heavier residue after over-application
Liquid Flux
- Creates a thinner layer
- Can evaporate rapidly
- May spread into unwanted areas
- Can pop when moisture or excess liquid is present
How to Reduce Flux Spattering
Inspect and Dry the PCB
Confirm that the board is clean, dry and free from trapped cleaning solvent before soldering.
Use Fresh, Properly Stored Flux
Keep the container closed and follow the manufacturer’s storage and shelf-life instructions.
Choose the Correct Flux Type
Use a controlled tacky flux for localized hot-air and SMD repair, or a precisely applied liquid flux for thin coverage.
Apply a Thin Layer
Cover the target joint without creating a deep bead or large pool.
Clean and Tin the Iron Tip
Efficient tip contact shortens the heating cycle and reduces unnecessary boiling.
Use Controlled Heat
Avoid pushing a very hot tip directly into a large pool of flux. Apply heat through the solder joint and use progressive hot-air heating when appropriate.
Stop When Solder Wetting Is Complete
Continuing to heat after the joint has formed can darken residue and increase spattering.
Clean and Inspect the Repair Area
Remove loose solder balls, excessive residue and contamination before returning the PCB to service.
How to Prevent Spattering During Hot-Air Rework
- Use only a thin layer of tacky flux.
- Keep flux within the component footprint.
- Begin with moderate airflow and controlled heating.
- Avoid directing maximum airflow into a visible flux pool.
- Protect lightweight nearby components.
- Use magnification to monitor solder movement.
- Stop heating once the component can be lifted safely.
How to Prevent Spattering With a Soldering Iron
- Use a clean and properly tinned tip.
- Select a tip with sufficient contact area.
- Apply flux to the joint rather than coating the whole tip.
- Use the minimum effective flux amount.
- Avoid pressing the tip into a thick flux bead.
- Complete the solder joint efficiently.
- Allow the PCB to cool between repeated repair attempts.
When Should You Stop Soldering?
Stop heating and inspect the PCB when:
- Flux or solder sprays outside the repair area.
- The residue turns very dark or black.
- The PCB solder mask begins changing color.
- A component package begins deforming.
- The pad moves or lifts from the PCB.
- Solder balls appear near fine-pitch components.
- The joint does not improve after correcting flux application.
How to Clean Flux After Spattering
Spattered flux should not simply be wiped across the circuit board. Use a compatible electronics cleaner and physically remove dissolved residue with clean lint-free materials.
- Disconnect all power.
- Allow the PCB to cool.
- Inspect for solder balls and loose particles.
- Choose a cleaner compatible with the flux and PCB materials.
- Gently loosen residue with an ESD-safe brush.
- Remove dissolved contamination with clean wipes or swabs.
- Allow the PCB to dry completely.
- Inspect before reconnecting power.
Read: How to Clean Flux Residue From a PCB Safely
Common Flux Spattering Mistakes
Adding More Flux Every Time the Joint Fails
Poor tip condition or insufficient heat transfer may be the real problem.
Using Maximum Hot-Air Flow Immediately
Strong airflow can move liquid flux and small components before the area heats evenly.
Applying Flux to a Wet PCB
Cleaning solvent or moisture can rapidly turn into gas during soldering.
Ignoring Loose Solder Balls
Small conductive particles can remain between component leads or underneath packages.
Continuing to Heat Burnt Flux
Carbonized residue no longer provides the same useful wetting action.
Frequently Asked Questions
Why does soldering flux bubble?
Flux bubbles because volatile ingredients and solvents become gas during heating. Small controlled bubbles can be normal.
Why does soldering flux pop or spatter?
Excessive popping can be caused by too much flux, rapid heating, high temperature, moisture, contamination or trapped flux beneath a component.
Is bubbling flux normal?
Brief, gentle bubbling close to the solder joint can be normal. Aggressive popping or droplets spraying across the PCB indicate that the process should be checked.
Can too much flux cause spattering?
Yes. A large flux pool contains more volatile material and may trap gases until they escape suddenly.
Can moisture cause soldering flux to pop?
Yes. Moisture rapidly becomes steam when heated and can force flux or solder away from the joint.
Does high temperature cause flux spattering?
Excessive temperature can accelerate flux boiling, increase spattering and cause dark or carbonized residue.
Does tacky flux spatter more than liquid flux?
Not necessarily. Tacky flux may spatter when applied too thickly, while liquid flux may spatter or spread when excess liquid or moisture is present.
How can I stop flux from spattering?
Use less flux, keep the PCB dry, select the correct flux type, maintain a clean soldering tip and apply controlled heat.
Apply SATZOZZ NC559 Flux With Better Control
SATZOZZ NC559 No-Clean Tacky Flux uses syringe-style dispensing for localized PCB soldering, SMD rework and microsoldering.
- Controlled syringe application
- Suitable for localized PCB rework
- Useful for soldering and hot-air workflows
- Pairs with SATZOZZ desoldering wick
- Wholesale and private-label cooperation available
Technical References
Need Flux and Microsoldering Tools for PCB Repair?
Explore SATZOZZ NC559 flux, desoldering wick and precision tools, or contact our team for wholesale, distributor and private-label inquiries.
View SATZOZZ Products Contact SATZOZZ