
How to Remove Solder Bridges on PCB:
A Complete Guide for Microsoldering Repair
Solder bridges are one of the most common problems in PCB assembly and electronics repair. Learn how to safely remove excess solder and restore reliable connections with proper tools and techniques.
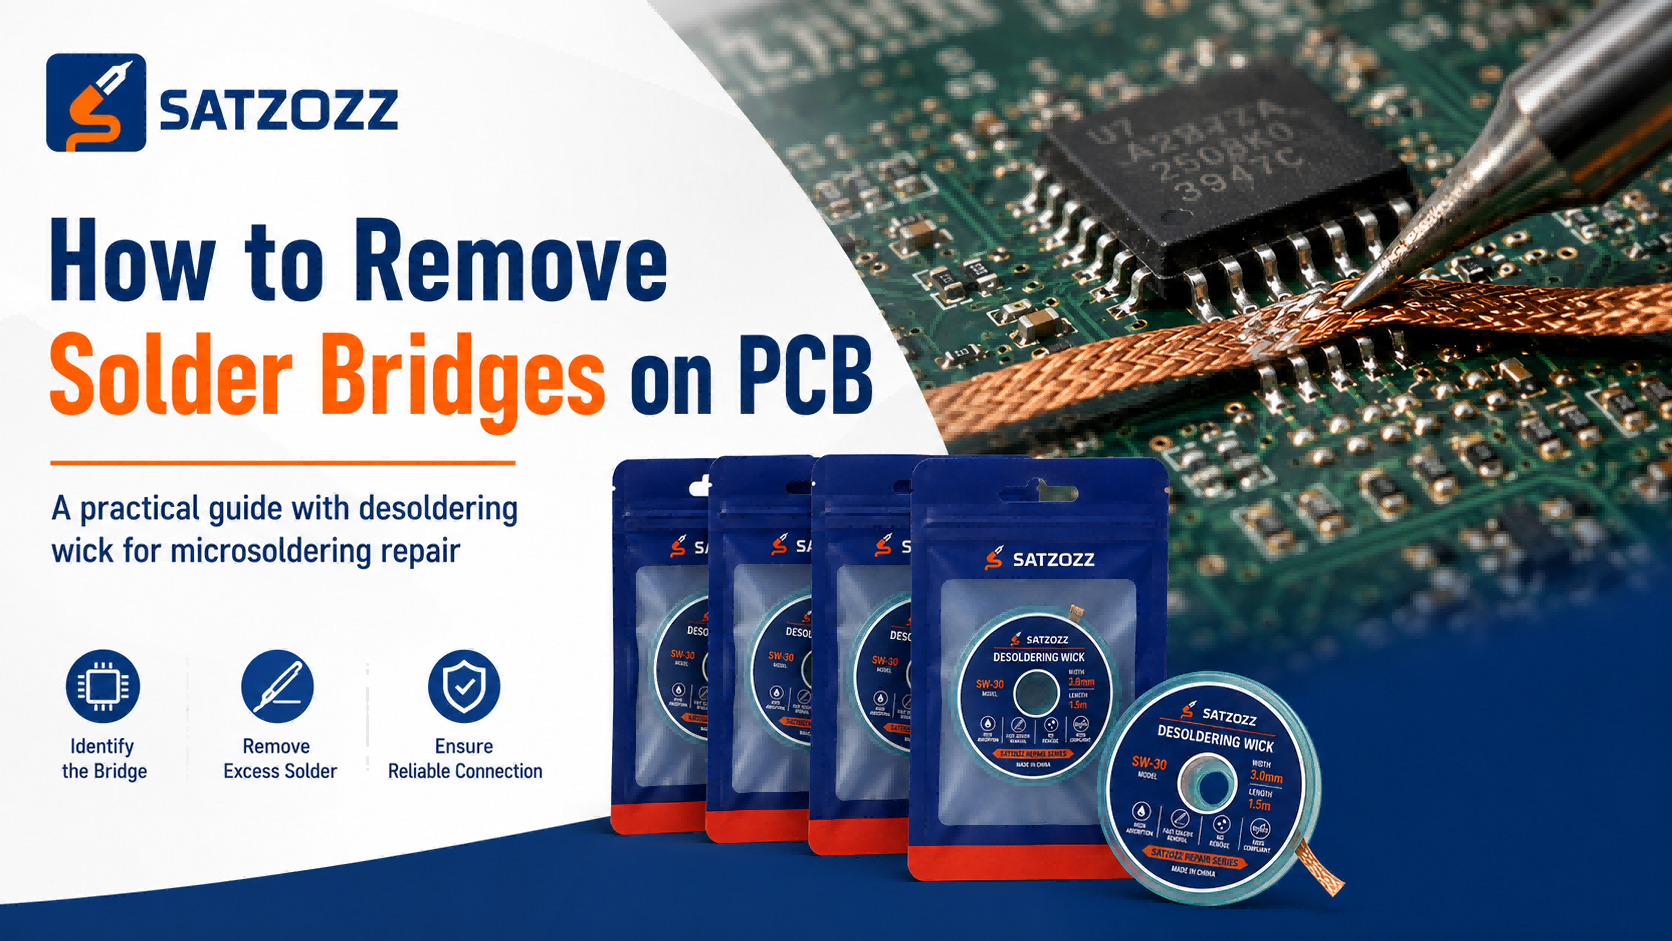
What Is a Solder Bridge?
A solder bridge is an unwanted electrical connection created when molten solder connects two nearby pads, pins, or conductive areas on a PCB.
This problem frequently appears during microsoldering work, especially when repairing:
- Fine pitch IC pins
- SMD components
- QFN packages
- PCB connector terminals
- Short circuits between components
- PCB malfunction
- Unstable electrical performance
- Possible component damage
Why Do Solder Bridges Happen?
1. Excessive Solder Amount
Applying too much solder is the most common reason for solder bridges. The solder flows beyond the intended pad area and connects adjacent terminals.
2. Incorrect Soldering Technique
Long heating time, incorrect solder tip angle, or poor solder control can easily create unwanted solder connections.
3. Fine Pitch Components
Modern electronic devices use smaller components with narrower spacing, making solder bridge removal an important repair skill.
How to Remove a Solder Bridge Step by Step
Place Wick
Place the desoldering wick directly on the solder bridge.
Heat
Heat the wick with a soldering iron until solder melts.
Absorb
Allow the copper braid to absorb excess solder.
Inspect
Remove the wick and check the PCB connection.
Using Desoldering Wick for PCB Repair
Desoldering wick is one of the safest and most effective tools for removing unwanted solder.
High Solder Absorption
Braided copper structure quickly absorbs molten solder and improves repair efficiency.
Low Residue
Helps keep PCB surfaces clean after solder removal.
Flexible Copper Braid
Easy positioning around IC pins and small PCB areas.
Multiple Width Options
SATZOZZ provides 1.0mm, 1.5mm, 2.0mm, 2.5mm and 3.0mm widths for different repair applications.
Other Tools Needed for Solder Bridge Removal
- Flux: Improves solder flow and helps remove stubborn solder.
- Precision Tweezers: Useful for handling small components during microsoldering.
- Microscope: Essential for inspection of fine-pitch PCB areas.
- Soldering Iron: Provides controlled heat for precise repair.
How to Prevent Solder Bridges
- Use the correct amount of solder.
- Keep solder tips clean.
- Choose suitable soldering temperature.
- Apply quality flux.
- Inspect PCB under magnification.
Frequently Asked Questions
Can solder bridges damage a PCB?
Yes. A solder bridge can create electrical shorts and cause malfunction if not removed properly.
What size desoldering wick should I use?
For small SMD repairs, 1.0mm or 1.5mm wick is usually suitable. For larger solder areas, 2.0mm to 3.0mm widths provide faster absorption.
Why is my desoldering wick not absorbing solder?
Common reasons include insufficient heat, lack of flux, incorrect wick size, or oxidized solder surfaces.
Conclusion
Removing solder bridges is an essential skill for PCB repair and microsoldering. With the right combination of desoldering wick, flux, precision tweezers, and proper technique, technicians can repair PCB problems safely and efficiently.
SATZOZZ provides professional desoldering wick and precision electronics repair tools designed for technicians, repair shops, and DIY electronics enthusiasts.